> For the complete documentation index, see [llms.txt](https://docs.secured.finance/llms.txt). Markdown versions of documentation pages are available by appending `.md` to page URLs; this page is available as [Markdown](https://docs.secured.finance/sf-yield-vault/getting-started/deposit-assets.md).
# Deposit Assets
Make your first vault deposit in five steps
Depositing into a vault mints **vault shares** to your wallet — your claim on the vault's assets, whose value changes with strategy performance. How shares work is covered in [Vault System Overview](/sf-yield-vault/core-mechanics/vault-system-overview.md); this page is the hands-on walkthrough.
Before you start, make sure:
* Your wallet is connected to the right network (Ethereum for JPYC, Filecoin for USDFC)
* You hold the vault's base asset, plus a little native token for gas
{% hint style="warning" %}
**A vault is not a savings account.** Returns are variable and not guaranteed — the value of your position can decrease if the strategy takes losses. Review the strategy's risk notes and the [Risk Disclaimer](/resources/legal/risk-disclaimer.md), and deposit only what fits your risk tolerance.
{% endhint %}
## Step 1 — Connect your wallet
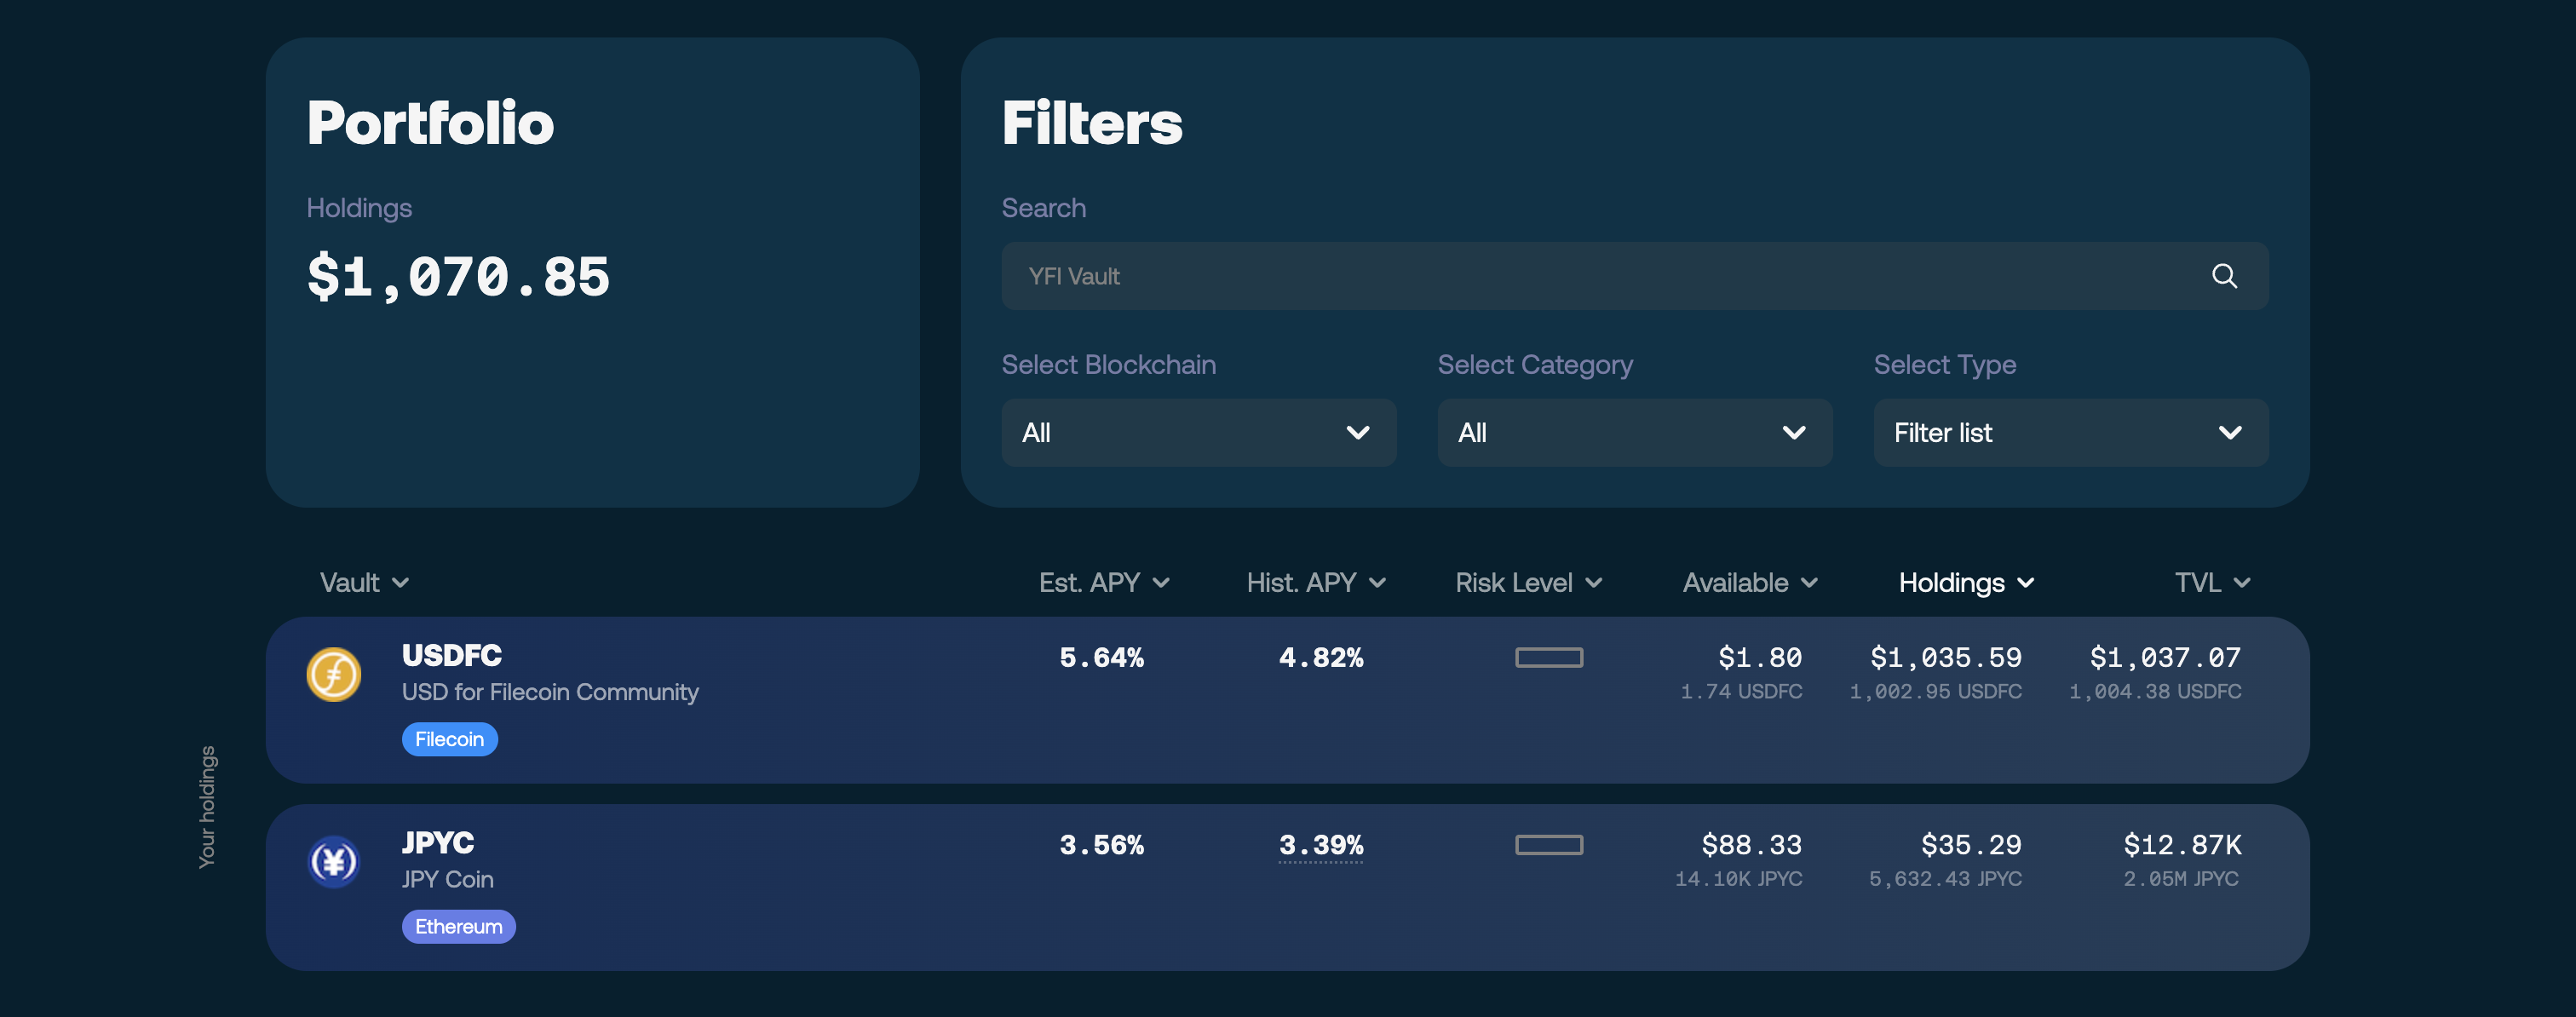
Open the [**SF Yield Vault app**](https://vaults.secured.finance/) and click **Connect Wallet** — either in the top-right corner or in the **Portfolio** card — then approve the connection. Your address and balances appear once connected.
Connecting your wallet
## Step 2 — Select a vault
Pick the vault for your asset — for example, **JPYC Vault**.
Selecting a vault
## Step 3 — Enter the amount
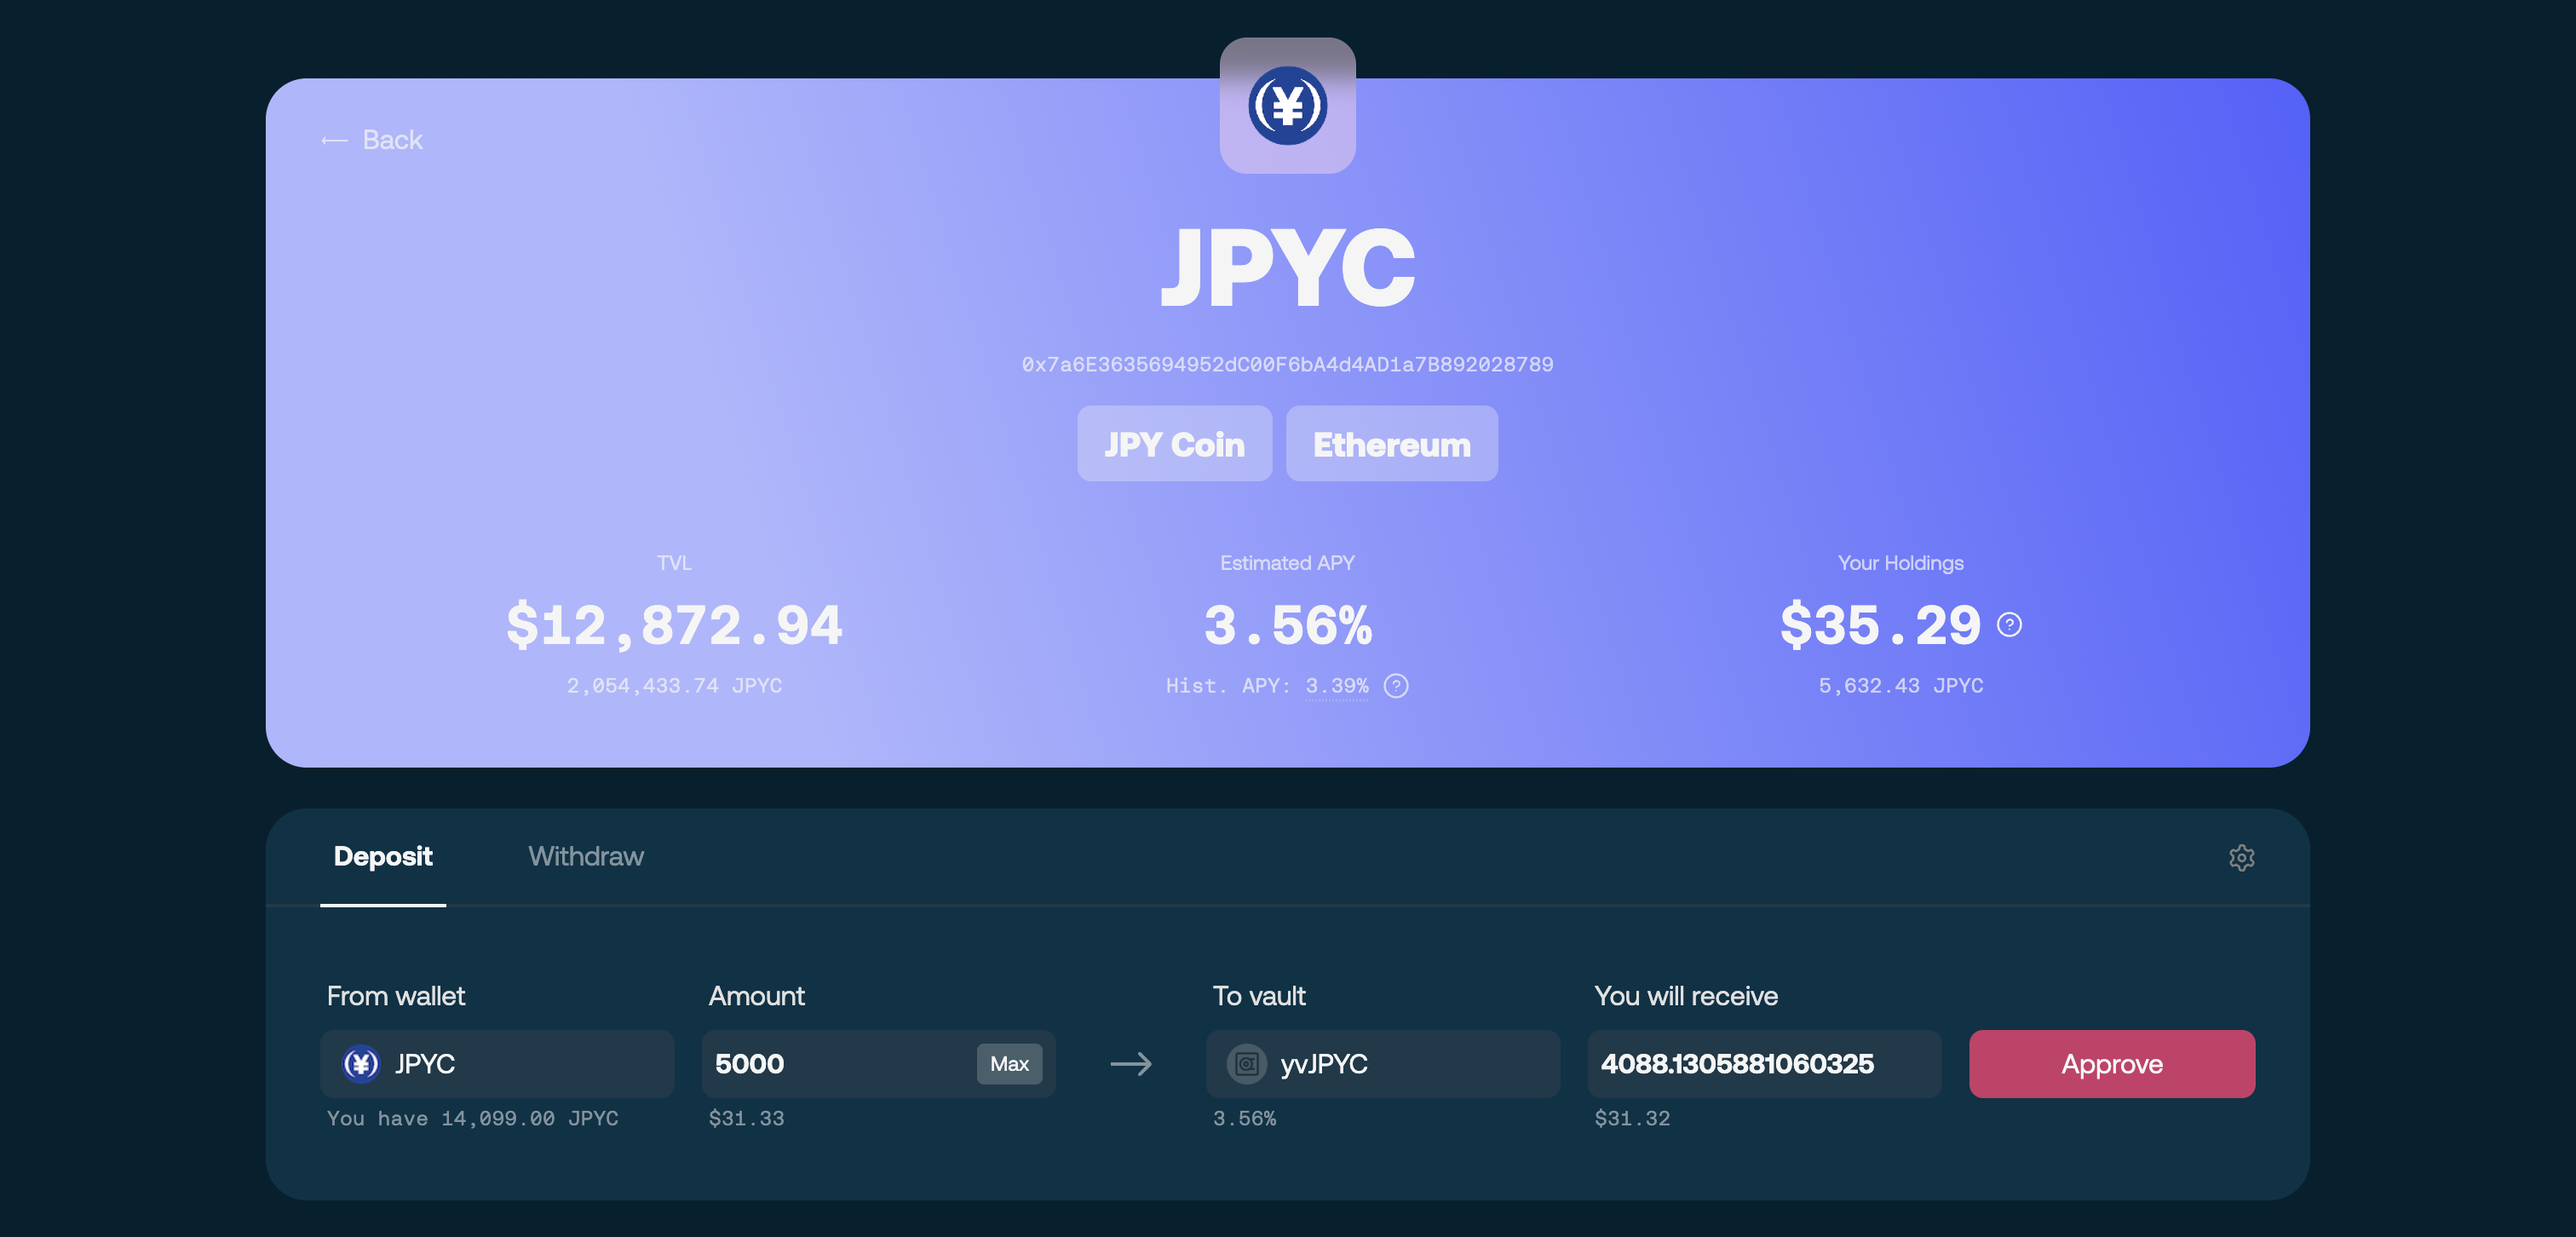
Enter how much you want to deposit and review the estimated vault shares you will receive.
## Step 4 — Approve the asset
The app asks you to approve the deposit amount first: click **Approve** and confirm in your wallet. Approvals are granted for the exact amount, so this step appears before every deposit.
Approving the asset
## Step 5 — Confirm the deposit
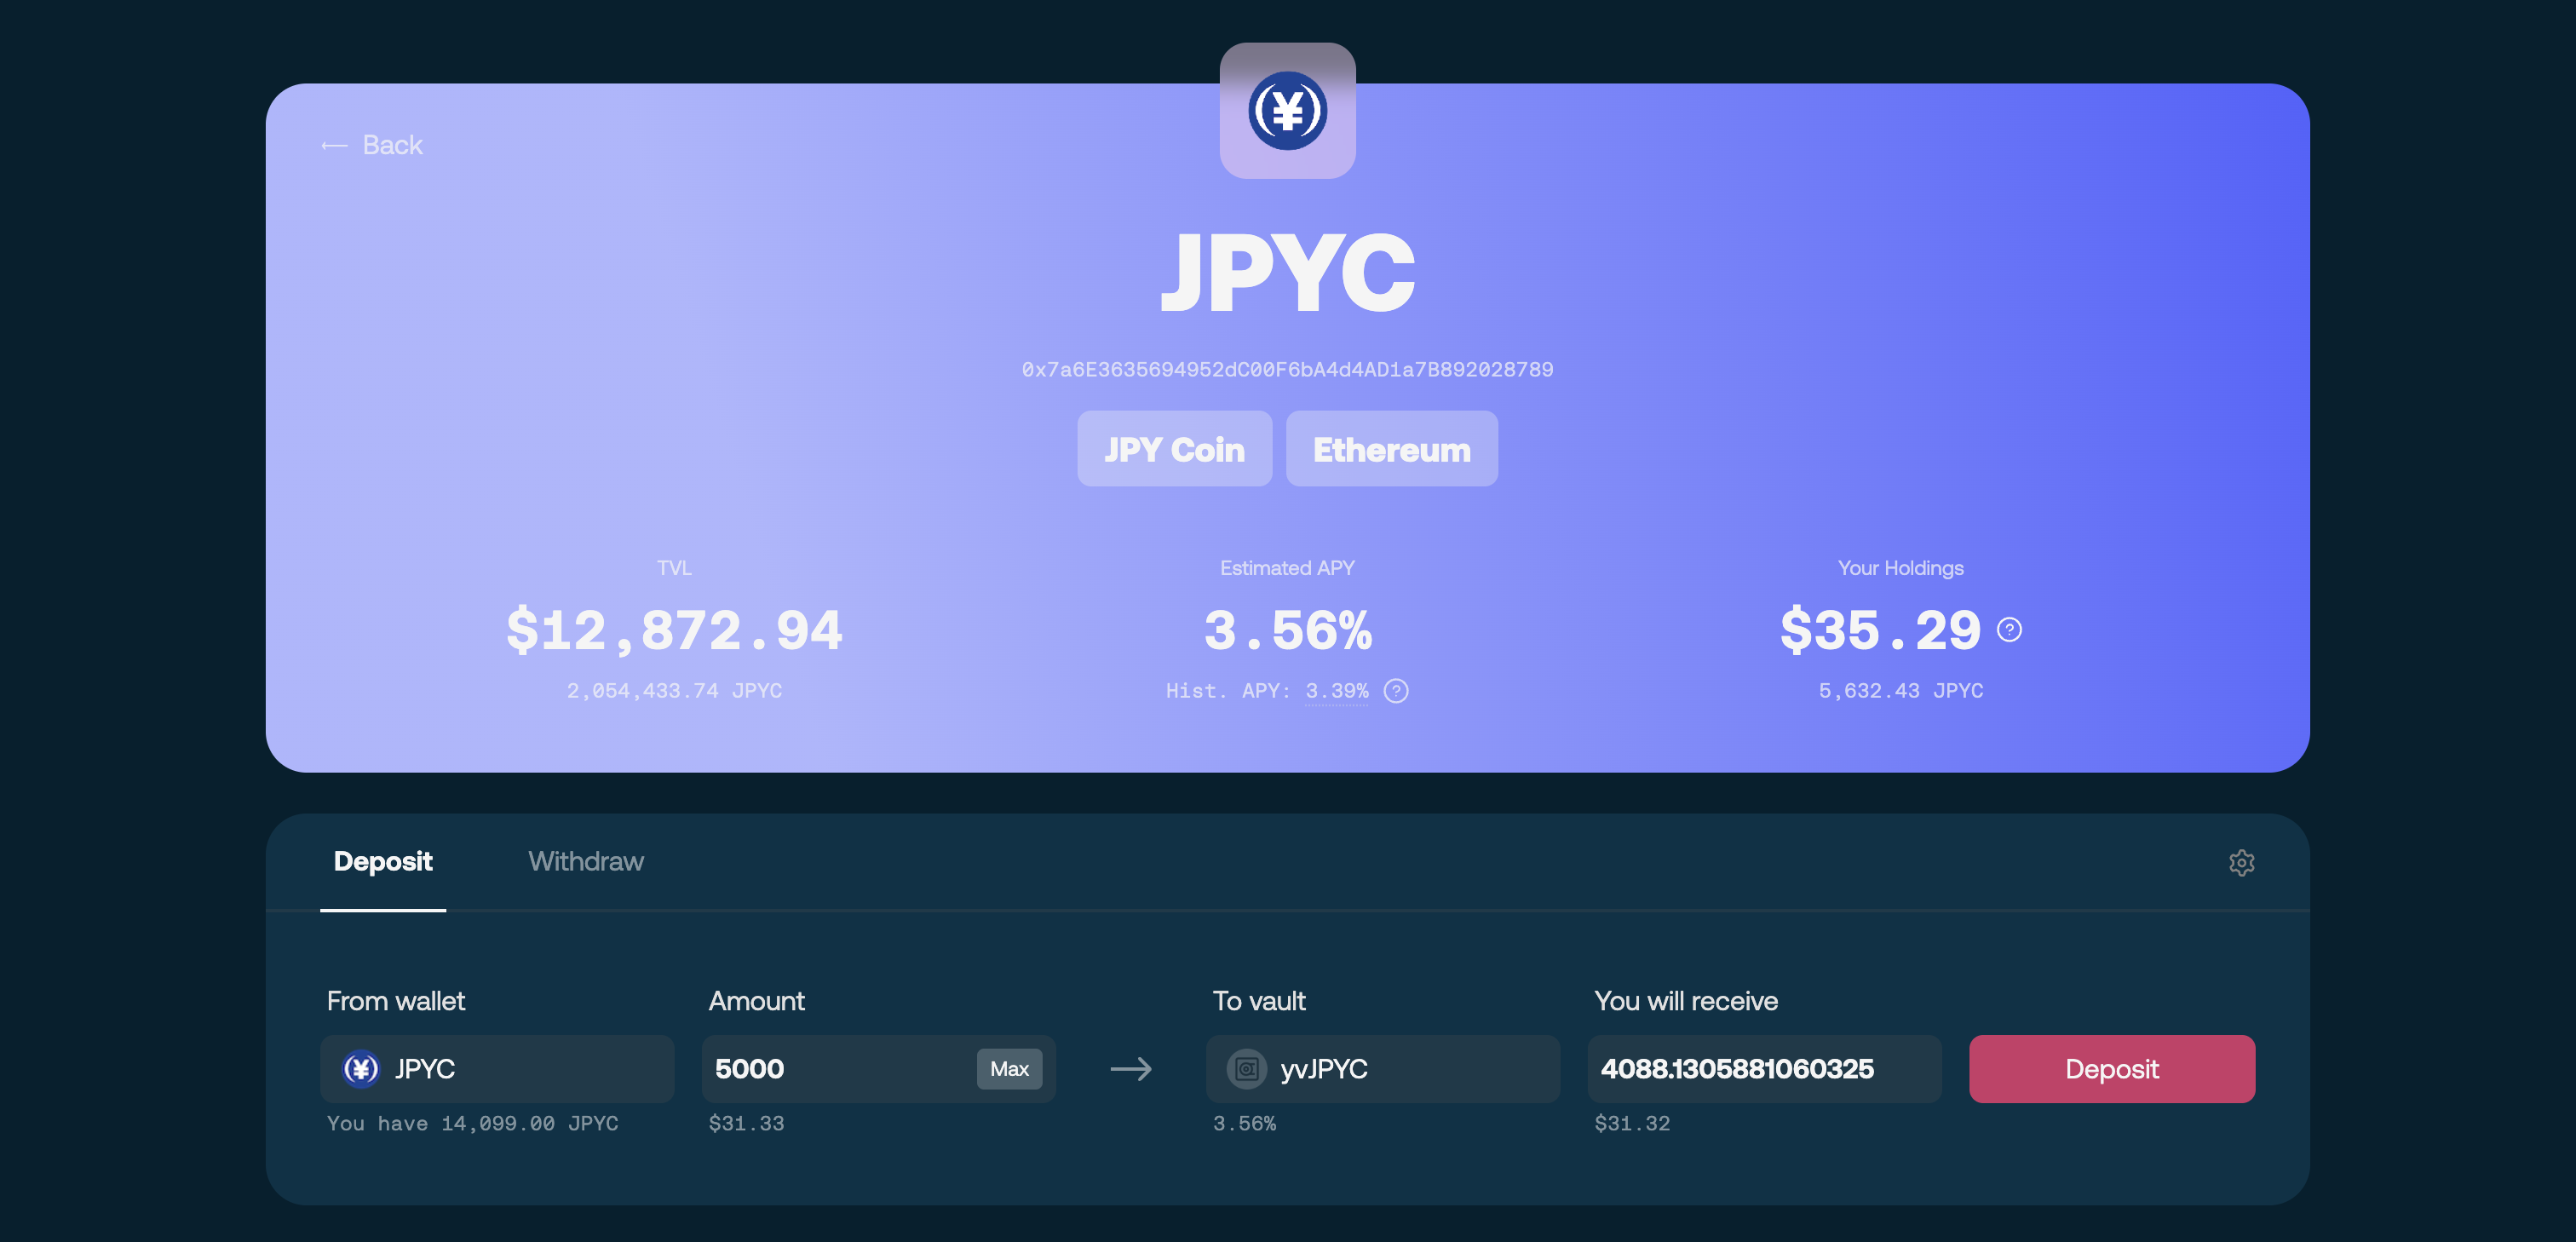
Once approved, the same button turns into **Deposit**. Click it and confirm in your wallet — when the transaction finalizes, your vault shares are credited.
Confirming the deposit
## What happens next
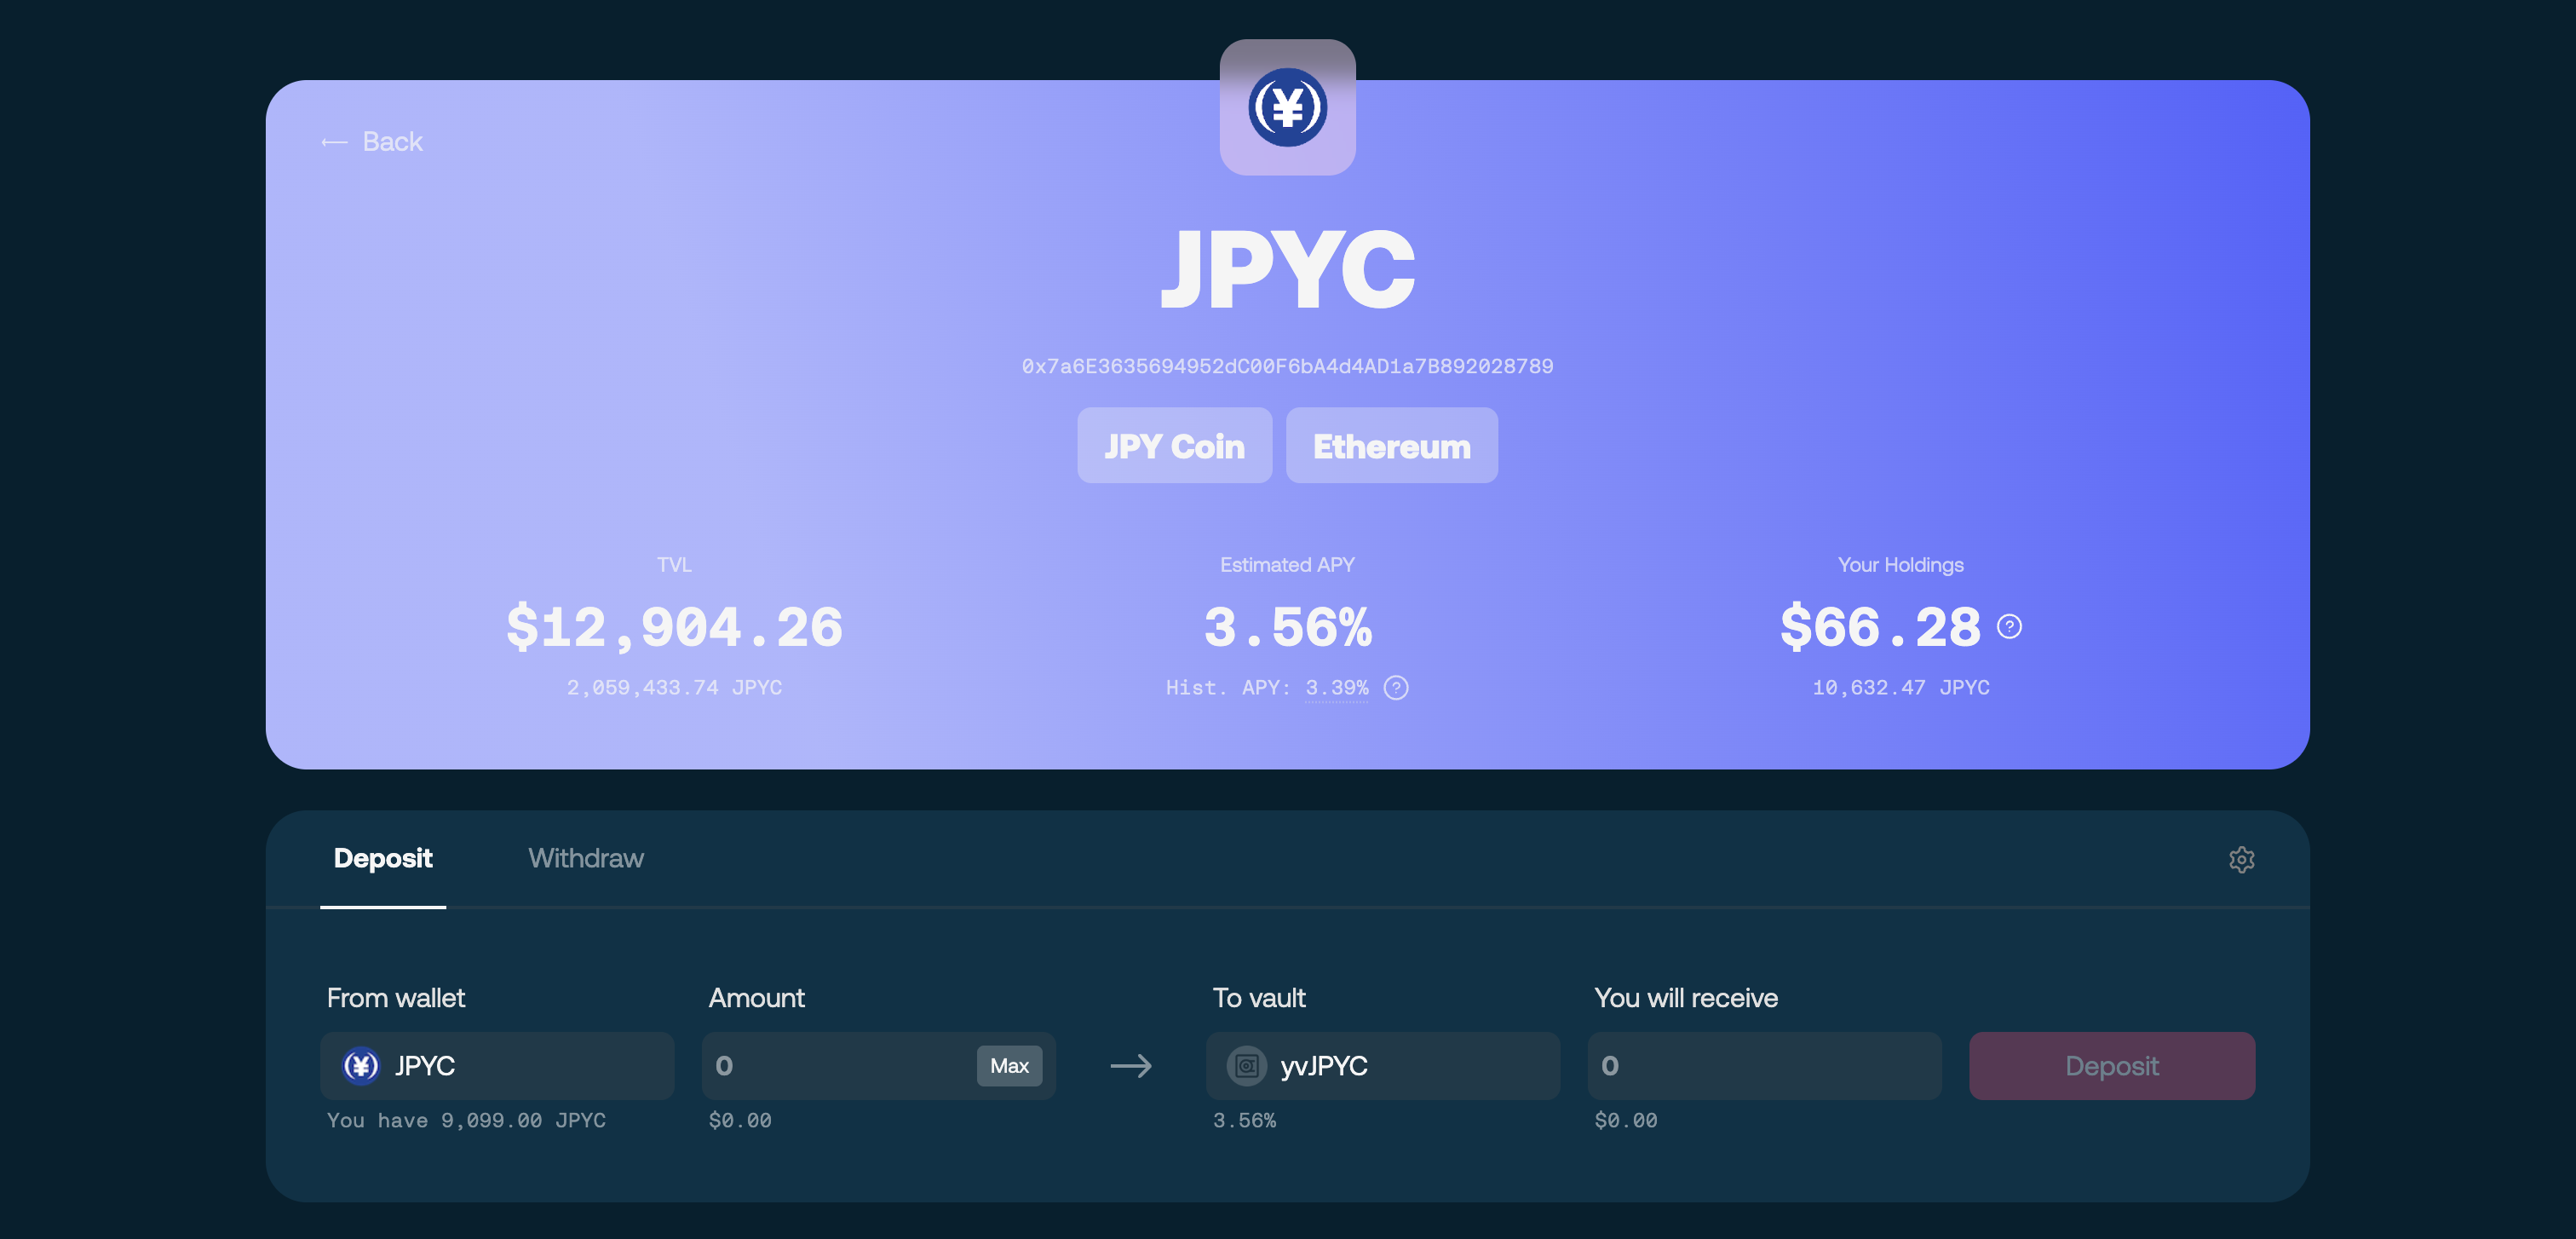
Your position appears in the app and yield starts accruing automatically — no further action needed. Your share count stays the same; it is the **price per share** that grows as the strategy earns.
Your position after depositing
## Troubleshooting
* **Approve succeeds but Deposit stays disabled** — refresh the page and re-check the amount against your balance and any deposit limit shown.
* **Transaction pending for a long time** — network congestion; wait, or speed the transaction up in your wallet.
* **Asset not showing in the app** — confirm the wallet is on the vault's network (Ethereum for JPYC, Filecoin for USDFC).
## Related
* [Withdraw assets](/sf-yield-vault/getting-started/withdrawing-assets.md) — redeeming shares for the underlying asset
* [Manage your position](/sf-yield-vault/getting-started/managing-position.md) — what to watch after depositing
* [Vault System Overview](/sf-yield-vault/core-mechanics/vault-system-overview.md) — how shares and accounting work